EMS-ESP has automatic integration with Home Assistant via the MQTT Discovery protocol. To use this feature enable simply enable the Discovery option from the MQTT Settings page.
EMS-ESP will create retained MQTT messages prefixed with homeassistant/ for each device and their values (called entities). For example "EMS-ESP Thermostat". You can view which ones have been created by going into Home Assistant's Configuration->Integrations and select the devices under MQTT.
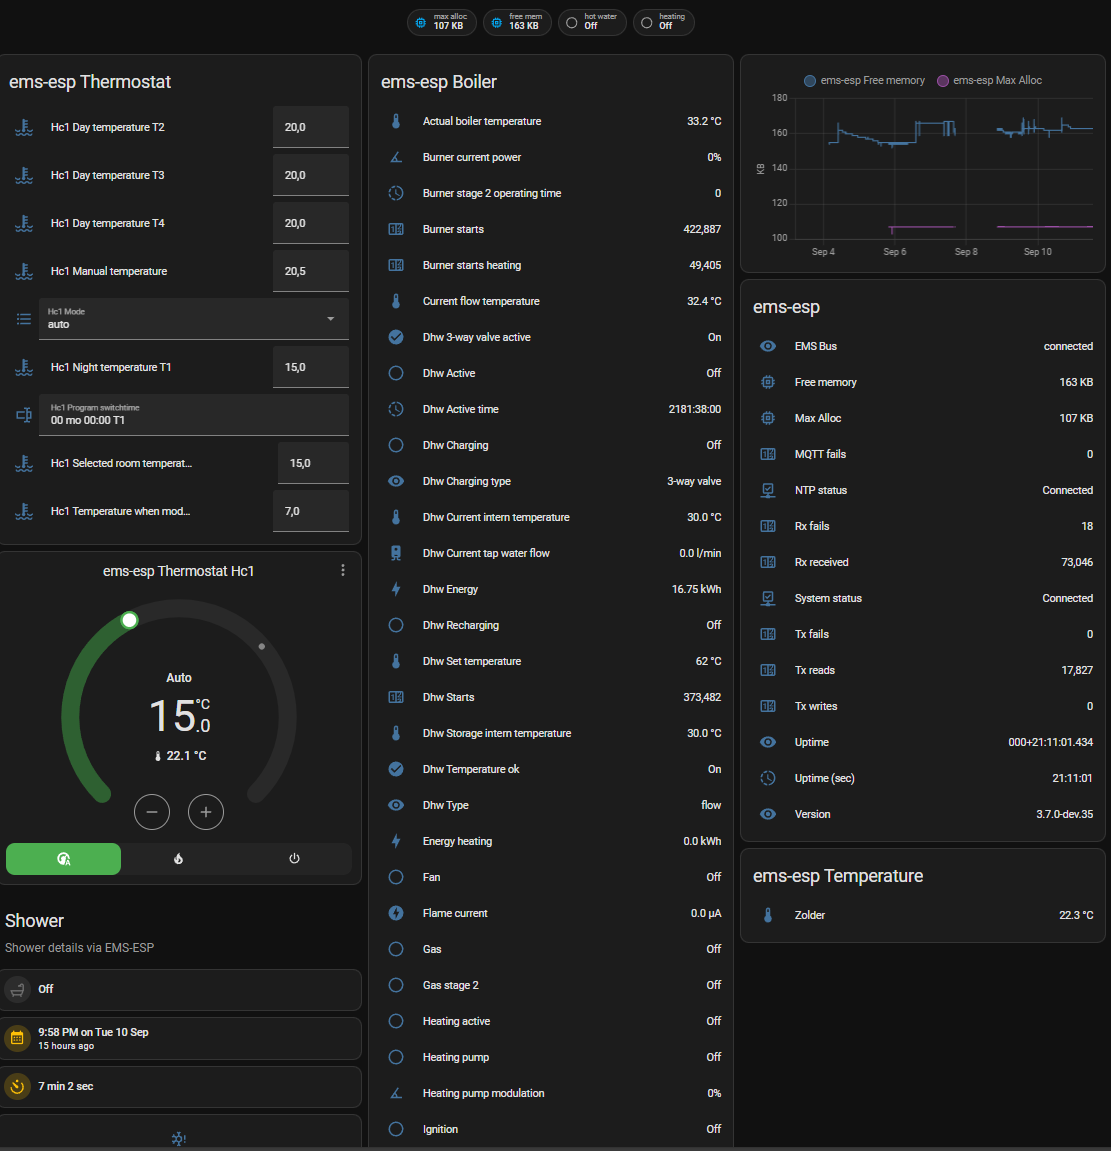
To add this device and its values to a Home Assistant UI click on the "ADD TO LOVELACE" button.
You can then add each of these devices to a new lovelace view using the "add to lovelace" button, and get something looking like:
alias:EMS-ESP bootsdescription:Notify when EMS-ESP bootsmode:singletriggers:-topic:ems-esp/heartbeatpayload:connectingvalue_template:'{{value_json.bus_status}}'trigger:mqttcondition:[]actions:-data:message:EMS-ESPS3title:EMS-ESPS3 has bootedaction:notify.mobile_app_my_iphone
Alert when EMS-ESP goes offline and reconnects back to the WiFi network~
1 2 3 4 5 6 7 8 910111213
alias:EMS-ESP Wifi Reconnecteddescription:Notify when EMS-ESP reconnectstriggers:-entity_id:-sensor.system_wifireconnectstrigger:stateconditions:[]actions:-data:message:EMS-ESP has reconnected!title:EMS-ESPaction:notify.mobile_app_my_iphonemode:single
coldshot:alias:Cold shot of watermode:singlesequence:-service:rest_command.emsespdata:device:'boiler'entity:'coldshot'value:'on'
Add to automations.yaml:
1 2 3 4 5 6 7 8 91011121314
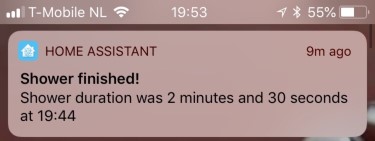
-id:shower_alertalias:Shower Alertdescription:Shower Alerttrigger:-platform:stateentity_id:-sensor.last_shower_durationcondition:[]action:-service:notify.notifydata:message:"Duration:{{states('sensor.last_shower_duration')}}"title:Shower finished at {{ now().strftime("%H:%M") }}mode:single
Add directly to the configuration.yaml or merge into an existing sensors.yaml file:
1 2 3 4 5 6 7 8 910111213141516171819
sensor:-platform:templatesensors:last_shower_duration:friendly_name:Last shower durationvalue_template:>-{% if has_value('sensor.ems_esp_shower_duration') %}{{ int(states('sensor.ems_esp_shower_duration')) | timestamp_custom('%-M min %-S sec', false)}}{% else %}unknown{% endif %}last_shower_time:friendly_name:Last shower timestampvalue_template:>-{% if has_value('sensor.ems_esp_shower_duration') %}{{ as_timestamp(states.sensor.ems_esp_shower_duration.last_updated) | int | timestamp_custom("%-I:%M %p on %a %-d %b") }}{% else %}unknown{% endif %}
Note you can configure the timestamp_custom() to your own preferred format.
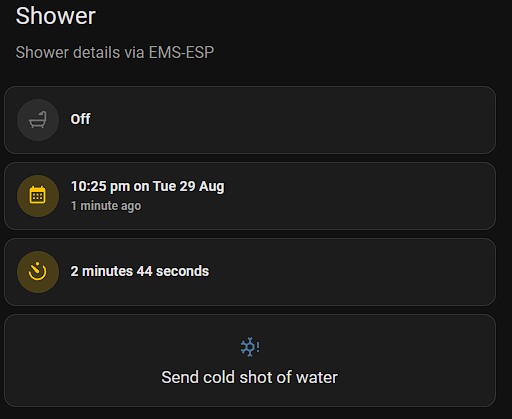
Add a new card to an existing Dashboard. I'm using custom cards called 'mushroom' which can be installed via the HACS plugin. Such a card would look like:
type:vertical-stackcards:-type:custom:mushroom-title-cardtitle:Showersubtitle:Shower details via EMS-ESP-type:horizontal-stackcards:-type:custom:mushroom-entity-cardentity:binary_sensor.ems_esp_shower_activeicon:mdi:showericon_color:redprimary_info:statesecondary_info:none-type:horizontal-stackcards:-type:custom:mushroom-entity-cardentity:sensor.last_shower_timeprimary_info:statesecondary_info:last-updatedicon_color:ambericon:mdi:calendar-month-type:horizontal-stackcards:-type:custom:mushroom-entity-cardentity:sensor.last_shower_durationprimary_info:statesecondary_info:noneicon_color:ambericon:mdi:camera-timer-show_name:trueshow_icon:truetype:buttonname:Send cold shot of watertap_action:action:call-serviceservice:script.coldshotshow_state:falseicon:mdi:snowflake-alerticon_height:24px
alias:Thermostat Alertdescription:''trigger:-platform:stateentity_id:-number.ems_esp_thermostat_hc1_seltempcondition:[]action:-service:notify.notifydata:title:Thermostat alertmessage:>-Temperature set to {{ states('number.ems_esp_thermostat_hc1_seltemp') }}degreesmode:single
Activating one-time hot water charging DHW once using MQTT~
Below is an example of calling a command (OneTimeWater)
-platform:mqttstate_topic:'ems-esp/solar_data'name:'SolarPumpworkinghours'unit_of_measurement:'hr'value_template:>{% set mins = value_json.pumpWorkMin %}{% set hours = ((mins | int / 60) | string).split('.')[0] %}{{hours}}qos:1payload_available:'online'payload_not_available:'offline'
Although all the EMS-ESP data is available in Home Assistant as various sensor types you can optionally also call commands and read data using the REST API interface. For example in the script below which will trigger HA to fetch the MAC address when HA is restarted:
Then in your HA's lovelace UI add then entity called input_number.wwselected_temp.
Now in HA you can dynamically adjust the values. Like:
Check if it's working by going to http://ems-esp/api/boiler/wwseltemp
LoveLace Section View, Tiles and setting values via EMS-ESP~
(by @oliof)
Since HA2024.12, lovelace defaults to Sections views and auto generates Tiles for most entities. While Tiles appear to be just simple display helpers, their functionality can be extensively modified by adding Features. Here is a graphical guide to create a similar control as above from within lovelace with no changes to configuration.yaml
In a Section View, add a tile for a settable value, for example for the selected hot water temperature. Entity selection supports auto-complete:
Hit the checkmark and 'Continue'. This will yield a preview of the autoselected Tile:
Hit add to dashboard. This will add the Tile to the dashboard in it's default setting, which just displays the value of the entity:
Edit the Tile to adjust size and add a Feature to get the numeric input functionality.
Optionally, if you prefer a slider over the buttons, hit SHOW CODE EDITOR and remove style: buttons from the feature definition:
Do note that the Tile component that comes with HA does not allow you to set minimum and maximum values. Either use numeric_input as outlined in the previous section, or check out Service Call Tiles on HACS.
Hit Save and enjoy your UI-generated EMS-ESP control tile:
Showing the Boiler status based on the service code~
(by @glitterball)
Use a template to translate the boiler service code into a string.